DTG printing vs screen printing: what every POD seller needs to know
One in 8 designs submitted to a print-on-demand platform gets rejected before it ever reaches a printer. That is not a Printful quirk or a Printify edge case. It is the mechanical reality of direct-to-garment printing, and most POD sellers find out about it after the rejection email arrives.
This guide explains DTG printing vs screen printing for the seller who already has a store running, not for the print shop operator evaluating capital equipment. You will learn what happens inside the machine when you submit a file, why design specs make or break print quality, and at what order volume screen printing starts to make economic sense. You will also see how automated pipelines eliminate the rejection rate that kills margin at scale.
DTG printing, explained for POD sellers (not print shop operators)
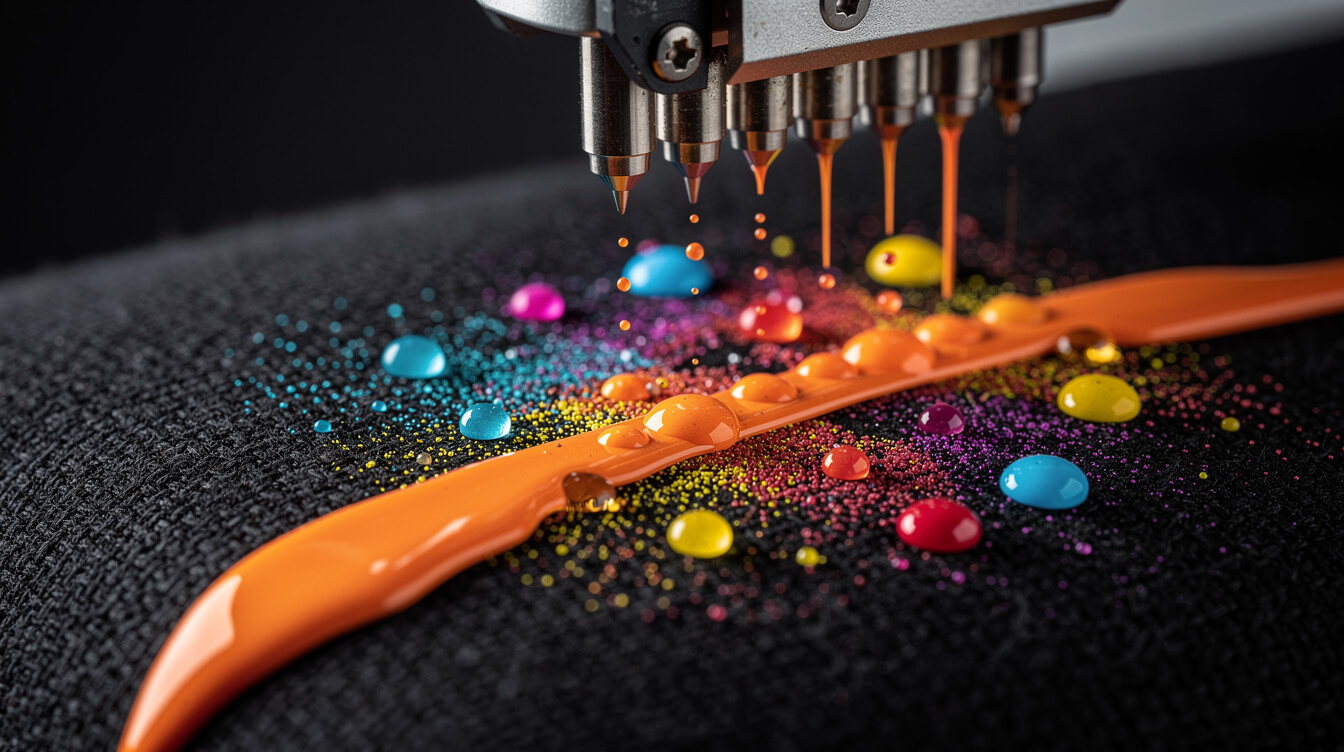
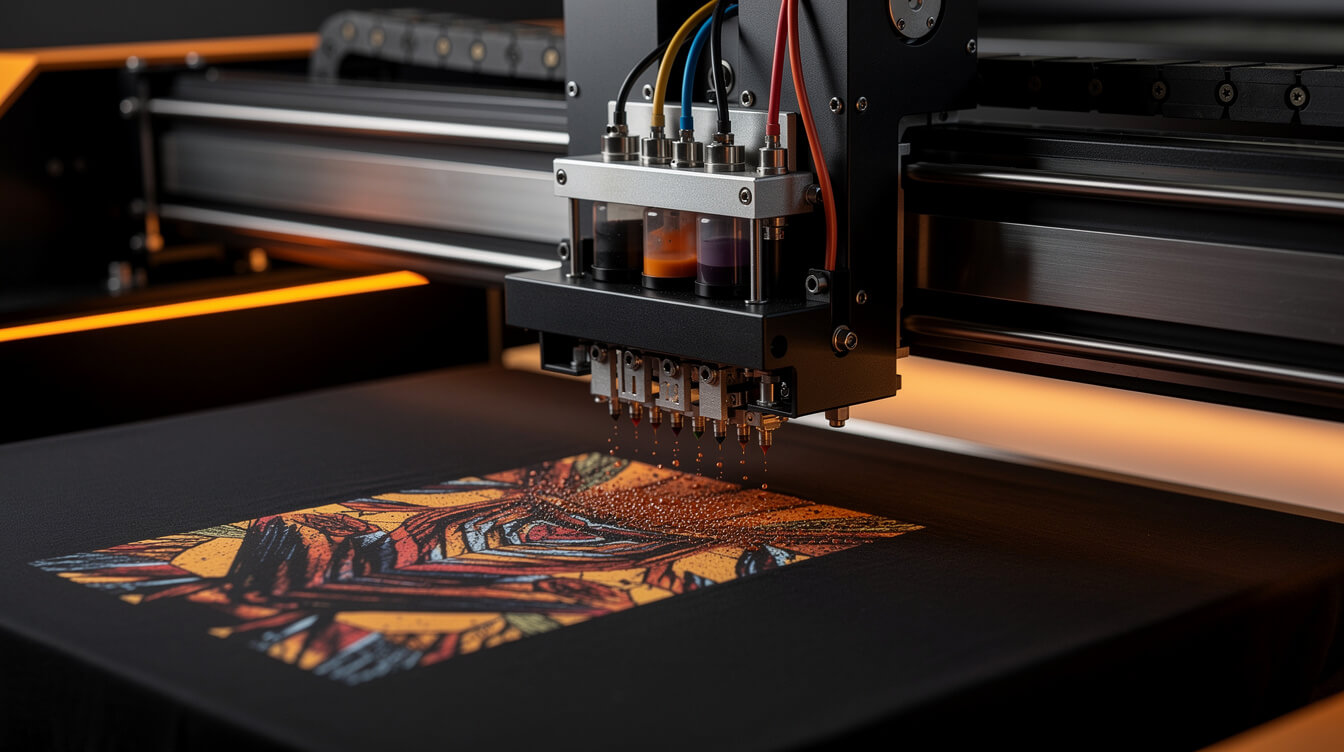
Direct-to-garment printing is inkjet printing applied to fabric. The printer head moves across a stretched garment and deposits water-based ink directly onto the fibres, pixel by pixel. There is no screen, no film, no plate. The printer reads a digital file and sprays ink in the exact pattern the file describes.
That sentence is the entire reason print-on-demand exists. Because there is no physical setup, there is no minimum order. One shirt costs the same per-unit operation as 10 shirts. That breaks the economics of every traditional decorated-apparel model.
What DTG printing requires from your files
The inkjet head cannot create what the file does not describe. A low-resolution file produces a low-resolution print. A poorly prepared transparency creates a bleed around the design edges. An incorrect colour profile produces a print that looks nothing like the preview on screen.
Printful’s DTG process, for example, runs designs through a pre-treatment step on dark garments: a white ink underbase is applied first, then the colour layer prints on top. This means dark-garment designs need a different file structure than light-garment designs. Files submitted without accounting for this will fail quality checks, or produce a muddy print that ships to your customer anyway.
The machinery is simple. The prep is not. Most sellers focus on the first half and skip the second.
Screen printing vs DTG: the 6 differences that actually affect your business
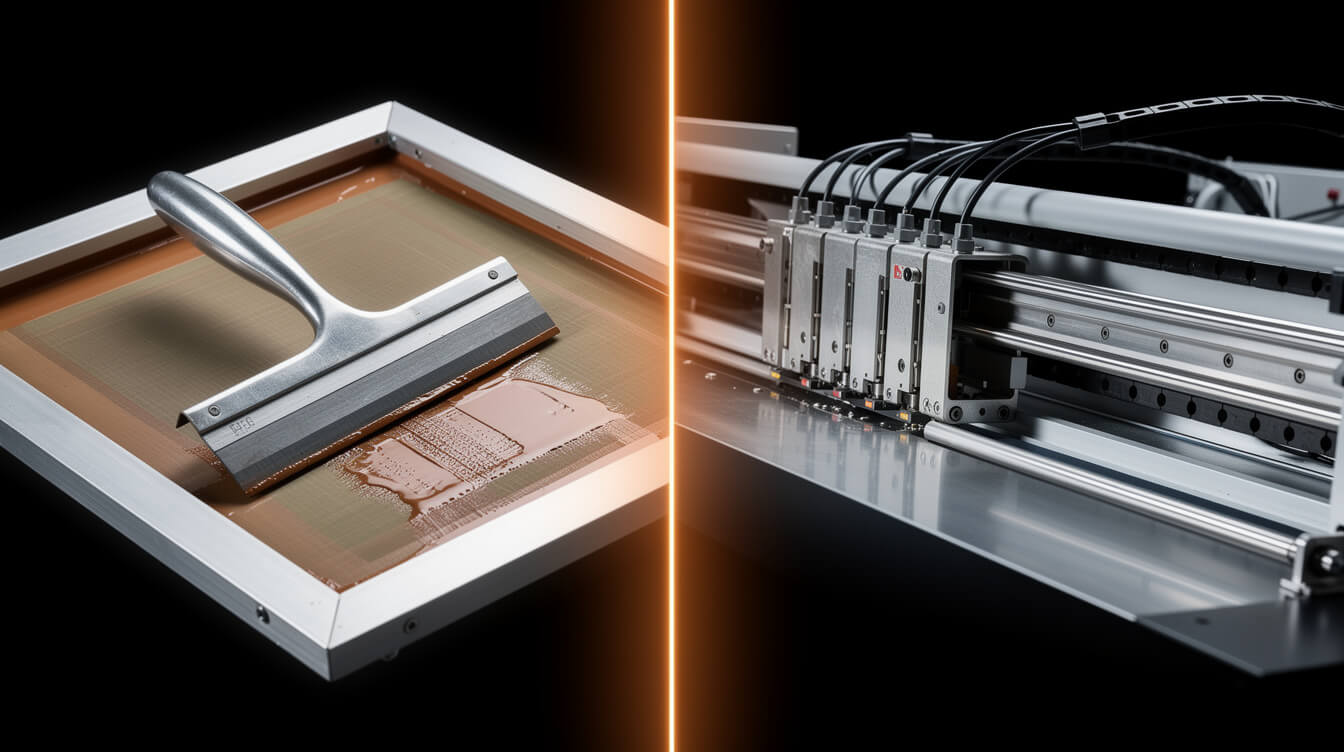
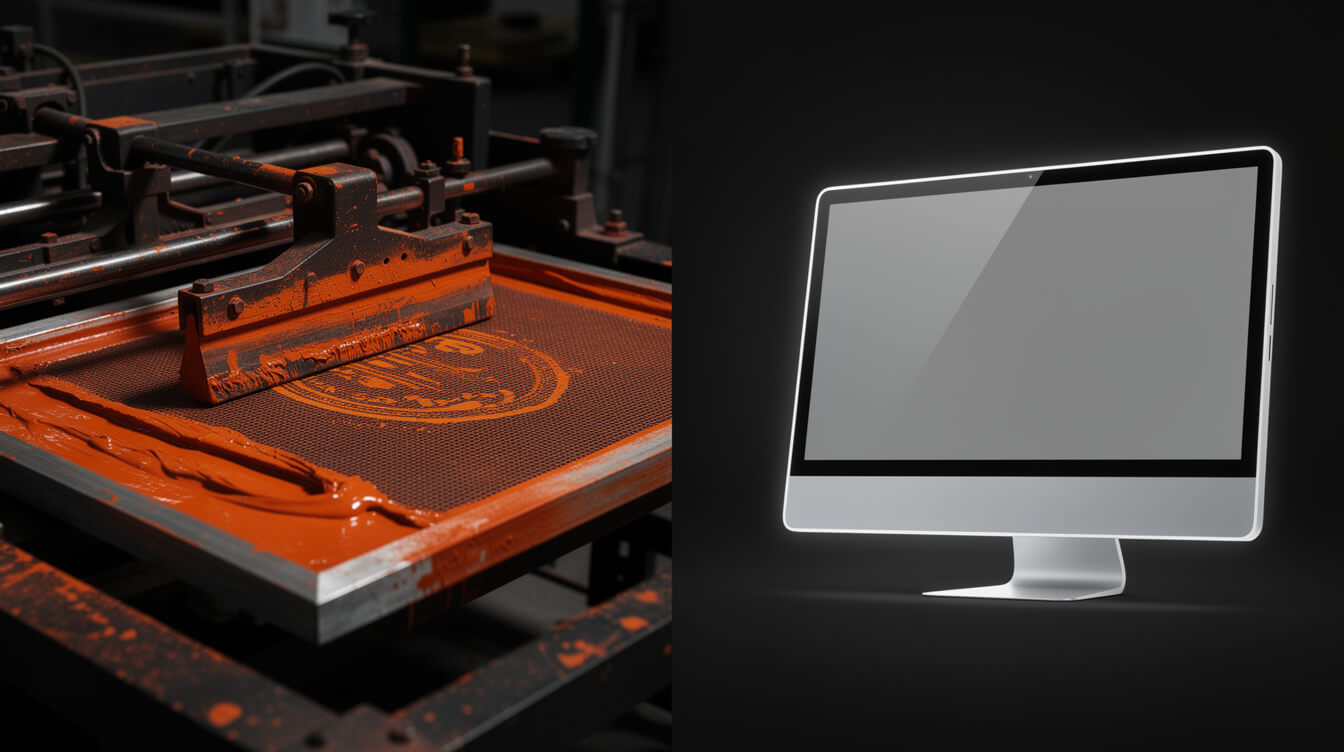
Screen printing pushes ink through a mesh screen that has been burned with your design. Each colour in the design requires a separate screen. The screen setup is a fixed cost, paid before a single garment is printed. Once the screen exists, per-unit ink and labour costs are very low.
Here are the 6 differences that determine which method fits your business.
1. Setup cost
Screen printing charges a setup fee per colour, typically $15 to $40 per screen. A 4-colour design costs $60 to $160 before you print a single shirt. DTG has no setup fee. You pay per print.
2. Colour complexity
Screen printing charges per colour. A photorealistic gradient with 30 shades is practically impossible, or prohibitively expensive. DTG handles full-colour photographic images at no extra cost. Complex gradients, photo textures, and detailed illustrations all print at the same price as a solid two-colour design.
3. Minimum order quantity
Screen printing requires a minimum order to justify screen setup, usually 12 to 24 units. DTG has no minimum. One unit, on demand, ships when the order comes in.
4. Durability
Screen-printed ink sits on top of the fabric and, when properly cured, bonds tightly to the fibres. It is highly durable and wash-resistant. DTG ink absorbs into the fibre. Wash care matters more. On lower-quality garments or with careless washing, DTG prints can crack and fade faster than a well-executed screen print.
5. Print area and garment type
Screen printing works on most flat substrates: t-shirts, hoodies, tote bags, hats. DTG is limited to cotton or high-cotton-blend garments for best results. Polyester-heavy fabrics do not absorb DTG ink well and produce washed-out prints. This is a significant product catalog constraint for POD sellers.
6. Speed at scale
After setup, a screen printing press runs hundreds of units per hour. DTG printers average 2 to 5 minutes per garment for a full-colour print. For runs above 50 units of the same design, screen printing is faster. Below that threshold, DTG wins on turnaround because there is no setup time.
Why print-on-demand platforms use DTG (and what that means for your product catalog)

Every major POD platform, including Printful, Printify, and Gelato, is built on DTG as the core production method for apparel. The reason is structural: POD requires per-unit production without minimums, and DTG is the only technology that delivers that at the required cost point.
This has a direct effect on your product catalog decisions.
Cotton content is not optional
Most POD platforms specify a minimum cotton content for DTG products, typically 80% or higher. When you browse their product catalog and see a shirt listed as DTG-compatible, the cotton content is already pre-filtered. Products below that threshold are either not available for DTG, printed using sublimation instead, or produce inferior results the platform will not guarantee.
If you are building a product line that spans different fabric weights or styles, you need to check the print method for each SKU. A tri-blend ring-spun tee may be on the platform but routed to a different print process than a standard Gildan 5000. The economics and product quality are different.
What POD platforms are actually doing with your file
When you upload a design to Printful’s DTG printing workflow, the platform runs it through a pre-processing queue. The system checks resolution (typically requires 150 DPI minimum at print size), colour profile (sRGB preferred), transparency (for dark garments, the alpha channel determines where the white underbase is applied), and file dimensions relative to the print area.
Files that pass these checks go to the print queue. Files that fail are either rejected automatically or caught by a human quality check. This is the source of the 1-in-8 rejection rate. The platform is not being difficult. The machine simply cannot produce a good print from a file that fails the spec.
For sellers running on how Printify routes print jobs, the process is similar but distributed: Printify works with multiple print providers, so the specific DTG hardware varies by provider. File specs remain consistent, but turnaround times and quality levels vary. Understanding which provider is printing your products matters more on Printify than on Printful, where production is more centralised.
The 1-in-8 rejection problem: how design specs create or destroy DTG print quality

Smash print-on-demand. Join the engine room.
One short email a week. Real numbers, real teardowns, the unfiltered economics behind every move.
The 1-in-8 figure is an industry estimate based on patterns in POD platform support queues and seller community reports. The root causes are consistent.
The 5 most common rejection triggers
Low resolution. The most common cause. A design sized at 72 DPI, the standard for web display, prints as a pixelated blur at garment size. Minimum 150 DPI at full print size is the threshold. 300 DPI is preferred for sharp, detailed work.
Wrong colour profile. Print processes work in CMYK or a specific RGB colour space. Designs created in the wrong colour space produce colour shifts when printed. Bright screen colours that exist outside the CMYK gamut cannot reproduce accurately on fabric. This is why that vivid neon in your mockup looks different on the actual shirt.
No white underbase on dark garments. DTG ink is translucent. On a black or navy shirt, dark ink disappears. The print process adds a white underbase first, then prints the design on top. If your file does not account for this, the platform either rejects it or prints a washed-out result. Proper dark-garment files need a dedicated white layer or correctly structured transparency.
Soft edges and low contrast. DTG printing amplifies any softness in the original file. Designs that look crisp at small sizes on screen often print muddy at full garment scale. High-contrast, clearly defined edges print best. Subtle gradients and soft glows are challenging and sometimes impossible to reproduce well.
Print area violations. Each product has a defined print area. Designs that bleed outside that boundary are rejected or clipped. Checking your design against the product template before upload eliminates this entirely.
How to fix your production pipeline
The fix for most rejection causes is upstream: correct the design file before it reaches the platform, not after. A workflow that exports at 300 DPI, in sRGB, with correct transparency handling, eliminates the primary rejection causes. This is not a manual process for every design. It is a template and export preset set once and applied to every file in your pipeline.
At volume, this means the difference between 50 clean listings per week and 50 listings with 6 rejections, each requiring a manual revision and resubmit. The throughput math is significant.
Generate 50+ DTG-ready products before your coffee gets cold
MEGA automates the research-to-listing pipeline. One niche idea, fully formatted Printful listings with correct DTG specs, in under 7 minutes.
At what order volume does screen printing beat DTG? The break-even math

Screen printing has a lower per-unit cost at volume but a higher fixed setup cost per run. DTG has no setup cost and a higher per-unit cost. The break-even point is where total screen printing cost equals total DTG cost for the same number of units.
The math for a typical 4-colour design on a single style
Assume a screen printing shop charges $100 in setup fees for 4 screens, plus $3.50 per shirt at 50 units. Total for 50 shirts: $275, or $5.50 per shirt.
A comparable DTG print via Printful costs approximately $8.95 per shirt at current pricing, with no setup. Total for 50 shirts: $447.50.
The break-even point in this example falls around 27 units. Below 27 units, DTG is cheaper. Above 27 units, screen printing is cheaper per unit. At 100 units, the screen printing cost drops to roughly $4.50 per shirt. DTG stays at $8.95.
Why POD sellers almost never hit the screen printing threshold
Print-on-demand is an on-demand model. Orders arrive one or two at a time, not in batches of 50. You are not pre-printing 100 units of a design and warehousing inventory. You are producing each shirt as the order arrives.
The break-even calculation matters for a very specific use case: when you know in advance that a design will sell at high volume in a fixed time window. Event merchandise, brand capsule drops, and bulk corporate orders can reach that threshold. For most POD sellers running a catalogue of niche designs across multiple product types, it does not.
There is a related Shopify consideration here. Sellers paying Shopify’s 1% platform override on every transaction are already losing margin before they factor in print costs. Comparing DTG and screen printing costs is a later-stage conversation for a seller still on a platform that taxes their revenue at the transaction level. If you are not yet on an owned WooCommerce store, the Shopify transaction fee math for POD sellers is worth running first.
How to automate your DTG product pipeline: from design file to live listing in under 7 minutes

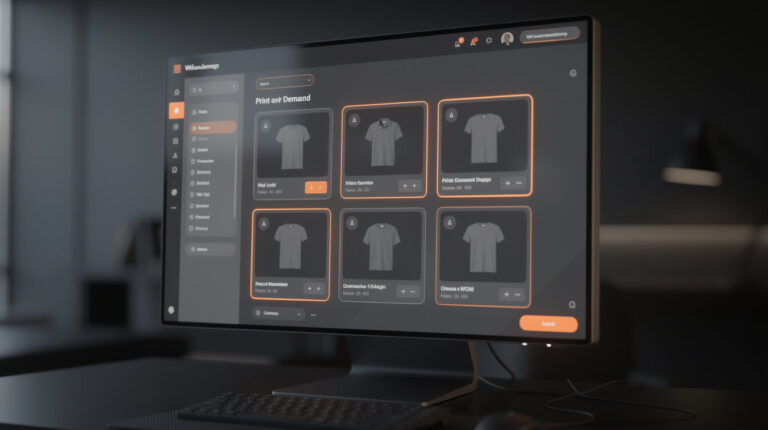
The manual DTG workflow looks like this: open Canva, design something, download a PNG, upload to Printful, check the product template alignment, fill in the title, write a description, set a price, save the mockup, upload to WooCommerce, write the listing again, set categories, publish. Roughly 45 to 90 minutes per product, depending on how many revisions the Printful preview requires.
That manual error rate is where design rejections concentrate. When you are doing every step by hand, the steps that require correct file specs, consistent sizing, and proper colour profiles are the ones most likely to be skipped or done carelessly.
What an automated pipeline removes
An automated DTG product pipeline removes every manual handoff. The design spec is baked into the export template once. The title and description generation runs from a brief, not from a blank field. The listing appears on Printful and WooCommerce simultaneously, already formatted and priced. The mockup is applied from the platform API, not manually dragged around a preview tool.
MEGA automates this entire sequence: niche research, design generation with correct DTG specs, Printful listing creation, and WooCommerce product publishing. A niche idea becomes a fully formatted, spec-compliant DTG product in under 7 minutes. The 1-in-8 rejection problem disappears because the file preparation is part of the pipeline, not an afterthought.
For sellers also building custom hoodies via Printful, the same pipeline applies. The product type changes, the file spec adjusts for the garment template, and the listing is formatted for hoodies instead of tees. One workflow handles the catalog.
The throughput difference
Manual workflow: 1 to 2 products per hour. Automated workflow: 8 to 10 products per hour, with consistent spec compliance across every file. At 20 hours of productive work time per week, manual produces 20 to 40 new listings. Automated produces 160 to 200 new listings, each built to the same spec.
Catalogue depth is a direct SEO and conversion factor. More product listings mean more indexed pages, more long-tail keyword coverage, and more opportunities for a customer to find exactly the niche design they want. The throughput gap between manual and automated is the competitive gap between a 50-product store and a 500-product store, running on the same owner’s time.
DTG printing in 2026: what is changing and what stays the same for POD sellers

DTG technology is improving at the hardware level. Print speeds have increased roughly 30% over the past 3 years. Ink chemistry improvements have narrowed the washability gap between DTG and screen printing on properly cured prints. Polyester-blend compatibility is gradually improving as ink formulations evolve, though cotton-dominant fabrics remain the reliable substrate.
What is changing
Print quality on dark garments. The white underbase step has been the persistent weakness of DTG on dark fabrics: the underbase can feel stiff, and the white can bleed into the design edges. Newer print heads and ink systems are producing cleaner underbase application, and the feel difference between a well-executed DTG print and a screen print is narrowing.
Fabric range. Polyester and performance fabrics are increasingly in-scope for DTG, though the results still vary significantly by machine and ink system. Sublimation remains the better process for full-polyester products, but the DTG-capable fabric range is expanding. This matters for POD sellers looking to add activewear, moisture-wicking, or athletic styles to their catalog.
Automated file preparation. Print platforms are investing in pre-processing automation that catches and corrects more file issues before they reach the print queue. This will reduce rejection rates industry-wide over the next 2 to 3 years, but it will not eliminate the problem entirely. The fundamental constraint is the file you submit. Automated correction can only do so much with a 72 DPI source file.
What stays the same
The economics of on-demand production do not change. No setup cost. No minimum order. Per-unit pricing that makes a single-item order economically viable. This is the structural foundation that print-on-demand is built on, and DTG is the technology that makes it possible.
The cotton content requirement is not going away soon. High-cotton fabrics will remain the reliable substrate for the foreseeable future. If you are building a product catalog around performance or synthetic fabrics, plan for a different print method.
File spec requirements remain non-negotiable. Resolution, colour profile, and transparency handling are properties of the source file. The machine reads what you give it. Giving it a well-prepared file is not optional.
Frequently asked questions
What DPI should DTG print files be? 150 DPI at full print size is the minimum. 300 DPI is the recommended standard for sharp, detailed prints. Always check at actual print dimensions, not at thumbnail scale.
Does DTG work on black shirts? Yes, but it requires a white ink underbase layer beneath the design. Dark-garment files need to account for this, either through a dedicated white layer or correct transparency handling. Files prepared for light garments often fail on dark garments for this reason.
How does DTG compare to sublimation? Sublimation dyes polyester fibres permanently and produces vibrant, fully saturated colour with excellent washability. DTG prints on cotton and deposits ink on the surface. Sublimation is better for synthetic fabrics and all-over prints. DTG is better for cotton apparel and complex, photographic designs on natural fibres.
Why do POD platforms use DTG instead of screen printing? The no-minimum requirement of print-on-demand is incompatible with screen printing economics. Screen setup costs require a minimum order to be viable. DTG has no setup cost, making single-unit production economically feasible.
Can I use screen printing for my POD store? Not through most POD platforms, which are built around DTG for apparel. You can work directly with a screen printer for batch runs of specific designs, but you would manage inventory and fulfillment yourself. This is a different business model than POD.
What this means for your store
DTG printing is the engine under every apparel product you sell through a POD platform. Understanding how it works is not optional knowledge. It is the difference between a catalog that consistently ships correct product and one that generates rejection emails, reprint requests, and customer support tickets.
The sellers who treat file preparation as an afterthought pay for it in rejection rates and manual rework. The sellers who build correct spec compliance into their production pipeline from the start run higher volume with less friction. At scale, that operational difference is worth more than any design or niche advantage.
The manual version of this pipeline produces 20 to 40 products per week. The automated version produces 160 to 200. Both use the same DTG technology. The difference is what happens before the file reaches the printer.
Implement AI. 30x your throughput. Get a 30-min call with the founder.
Drop your details and book a free 30-minute discovery call. Personalized advice on your POD stack, your margin, and where AI fits. No pitch, no fluff.