T-shirt printing design for POD sellers: how to create designs that actually print well
T-shirt printing design is not a single skill. It is two completely different disciplines, and most tutorials online only teach you one of them. They teach you how to design a shirt for a team, an event, or a one-off custom order. They do not teach you how to design for a print-on-demand catalog at scale. Those two workflows have almost nothing in common, and conflating them costs POD sellers time, money, and Printful rejections they never saw coming.
This guide covers what the SERP does not: t-shirt printing design as a production system, not a one-time task. Whether you are using Photoshop, Canva, or AI image generation, the principles here apply.
Why POD t-shirt design is different from one-off custom shirts
Walk into a custom print shop and order 50 shirts for your company retreat. You pick one design, they print it, done. That transaction has no repeatable design system behind it. The operator cares about print quality for that one order. They do not care about how the design will look across 12 colorways, whether the file will scale to a hoodie later, or whether the design will still convert in six months on a product listing page.
POD sellers care about all of those things simultaneously.
The key differences:
- Volume: A custom shop prints one approved design. A POD catalog might have 200 to 2,000 designs in rotation, each needing to meet print specs independently.
- File management: Custom print shops often reformat your file for you. Printful and Printify do not. Your file goes in exactly as submitted. If it fails their automated review, it gets rejected.
- Listing intent: Your designs need to convert as product photos on a WooCommerce or Shopify page, not just look good on a shirt in person. That affects composition choices.
- Repeatability: You need a system that produces consistent quality at volume. One designer doing 2 custom shirts a month and a POD seller generating 40 new designs a week are solving entirely different problems.
The vendors selling design tutorials online are almost all in the custom print business. Their audience is someone making a bachelor party shirt. Your audience is yourself, building a catalog that generates passive income. Treat design the same way and you will struggle with the same problems.
File specs every POD seller must know for t-shirt printing design
Both Printful and Printify have specific technical requirements, and they differ in ways that will catch you if you standardize on one and then try to use the other.
Resolution
The baseline is 150 DPI at print size. The preferred standard is 300 DPI. Print size for a standard front chest design is roughly 12 by 12 inches. That means your PNG at full quality should be at least 1800 by 1800 pixels, and ideally 3600 by 3600 pixels.
Submitting 72 DPI files because that is what your graphic design tool exports by default is the most common mistake new POD sellers make. The mockup will look fine. The physical shirt will look pixelated.
File format and transparency
Always submit PNG with a transparent background. Do not submit JPEG. JPEG compresses with lossy artifacts and has no transparency channel. Any JPEG you submit will get a white box around your design when printed on anything other than a white shirt.
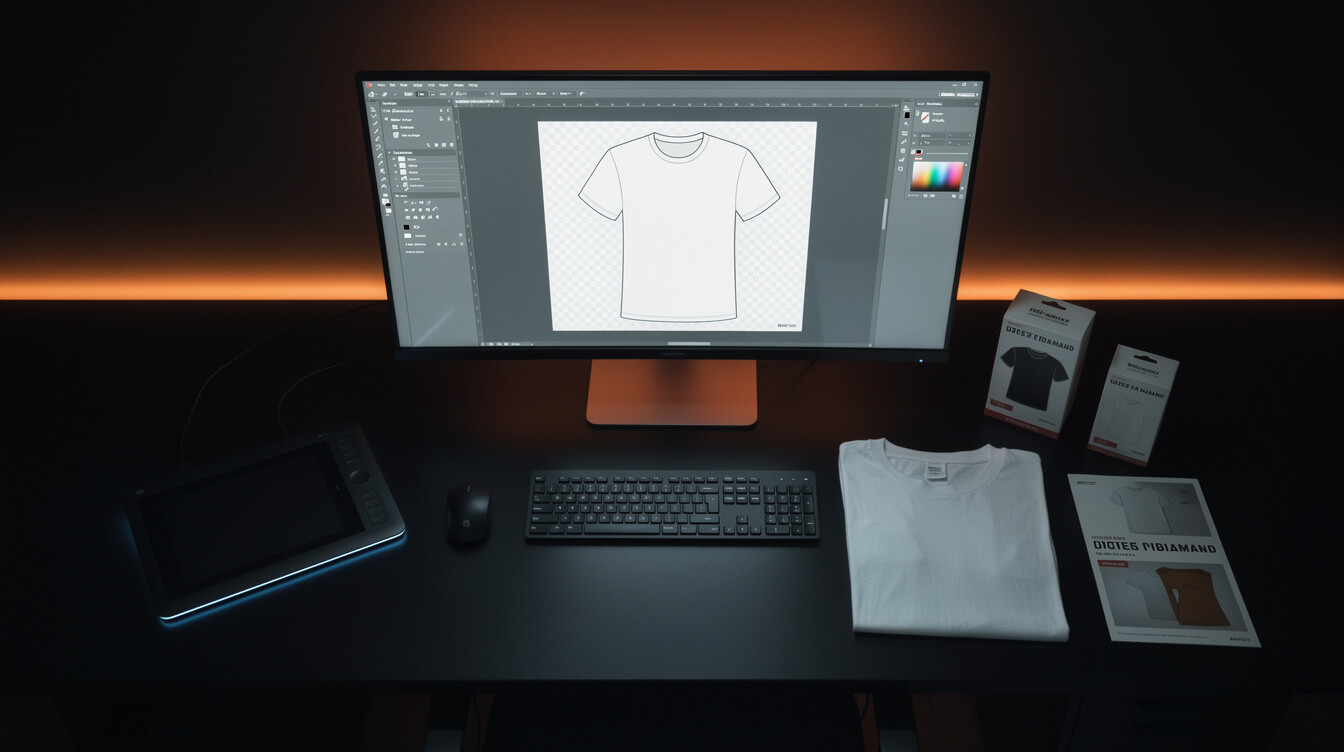
Check that your transparency is real transparency, not a white layer you cannot see. In Photoshop, the checkerboard pattern shows true transparency. In Canva, download as PNG with background removed before submitting.
Color mode: RGB vs sRGB
Printful uses sRGB. Printify also standardizes on sRGB. If you are designing in CMYK (common in professional print design), the colors will shift when converted. Design in sRGB from the start to see what buyers will see in product photos and what printers will render.
Printful vs Printify file requirements compared
The practical differences that matter for catalog work:
- Maximum file size: Printful accepts up to 200 MB per file. Printify accepts up to 200 MB as well, but different product categories have different maximums. Check per product.
- Minimum DPI: Printful requires 150 DPI. Printify recommends 300 DPI and will flag low-resolution files automatically.
- Bleed areas: For all-over print products, both platforms have specific bleed requirements. For standard front-and-back prints, they manage bleed internally.
- Safe zones: Keep design elements at least 0.5 inches from edges on standard print areas to avoid clipping when the shirt is cut and sewn.
Knowing the Printify workflow and the Printful platform requirements before you build your design system saves you from reformatting your entire catalog when you switch or add platforms.
Manual design vs AI generation: when each approach makes sense
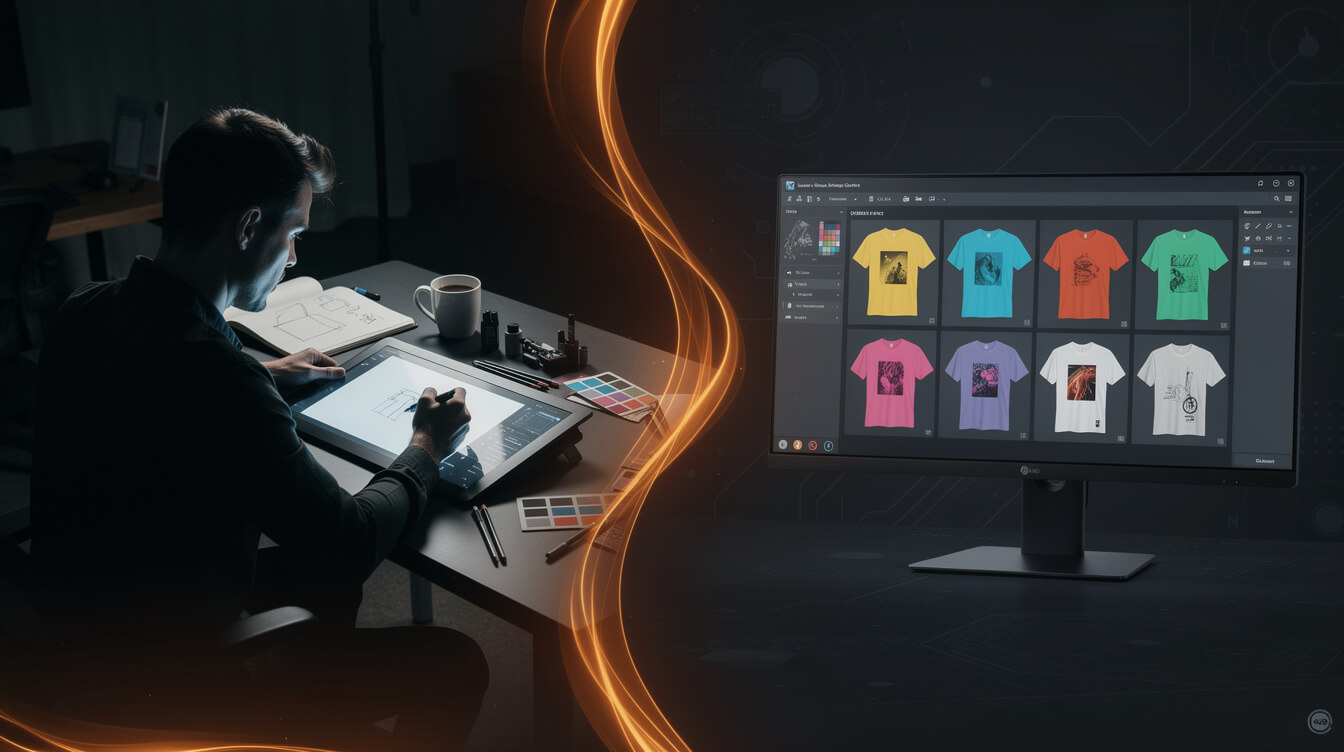
This is not a debate about quality. It is a question of economics at scale.
A professional graphic designer can produce 1 to 3 high-quality t-shirt designs per day. At a freelance rate of $50 per hour, each design costs roughly $200 to $400. For a catalog of 100 designs, that is $20,000 to $40,000 in design fees before you have sold a single shirt.
An AI image generation pipeline can produce 20 to 50 designs per day at a cost of $1 to $5 per image, depending on the model and compression pipeline you use. For a catalog of 100 designs, that is $100 to $500.
That is not a comparison. That is a different category of business math entirely.
Where manual design still wins
- Type-heavy designs: Current AI models still cannot produce clean, readable typography. Any design where the text is the design requires a human designer or a type-setting tool.
- Illustration with specific brand elements: Custom mascots, specific iconography, and brand-matched art styles are difficult to reproduce consistently with AI prompting alone.
- Complex compositions: Designs that require precise spatial relationships between multiple elements (a character holding a specific object in a specific way) are still more reliably produced by a designer.
Where AI generation wins decisively
- Pattern and texture designs: Seamless patterns, abstract backgrounds, and repeating motifs. AI excels at these.
- Nature and landscape art: Mountains, oceans, forests, wildlife. The current generation of image models produces print-ready quality at 300 DPI with the right prompting.
- Vintage and retro aesthetics: Distressed textures, halftone effects, aged print looks. AI generates these faster than any designer can apply filters manually.
- Niche exploration at volume: Testing whether 20 variations on a theme will sell. AI lets you generate and test before committing design budget to the winners.
The practical approach for most POD sellers is a hybrid: AI for the bulk of catalog volume, human refinement for the hero products and type-dependent designs.
How to prompt AI image generators for print-ready t-shirt printing designs

Smash print-on-demand. Join the engine room.
One short email a week. Real numbers, real teardowns, the unfiltered economics behind every move.

Most guides on AI image generation focus on making beautiful images. T-shirt printing design has an additional constraint: the output needs to be print-ready for Printful or Printify, with transparent background, appropriate composition, and no text artifacts.
Here are the prompting patterns that consistently produce usable POD designs:
The core prompt structure
Start with style, then subject, then background, then technical requirements:
[Style descriptor] illustration of [subject] on [background type], [color palette], [mood or lighting], centered composition, high contrast, flat graphic style, no text, no typography, no lettering, no watermarks
The “no text” negative prompt is non-negotiable. Flux 2 Pro and similar models will hallucinate text into designs if you do not explicitly forbid it. The result looks like a t-shirt with garbled fake-language stamped on it. Always append the no-text rule.
Background approach for transparent layers
AI models generate images with backgrounds. You have two options:
- Prompt for a solid color background (white is easiest to remove in Photoshop or Remove.bg) and strip it in post-processing.
- Prompt for designs that work on a colored t-shirt background and skip the transparency requirement entirely, treating the shirt color as the background layer.
Option 2 is faster but limits your colorway flexibility. Option 1 adds one processing step but makes your design usable on any shirt color. For a catalog strategy, option 1 is worth the extra step.
Resolution and upscaling
Most AI models generate at 1024 by 1024 pixels natively. For a 12-inch design at 300 DPI, you need 3600 by 3600 pixels. Run your AI output through an upscaling tool (Real-ESRGAN or Topaz Gigapixel are reliable options) before submission. This preserves detail that simple rescaling destroys.
MEGA automates this step entirely, running Replicate’s Flux 2 Pro model at 2 megapixel resolution before compression and upload. For sellers building their own pipeline, the upscaling step is where most people skip and then wonder why their prints look soft.
Style keywords that work for POD
- Vector art style: Clean lines, bold fills, scales well to print size
- Vintage poster style: High contrast, limited palette, strong silhouettes
- Ink wash illustration: Organic, textural, works well on natural-color shirts
- Geometric abstract: Symmetrical, pattern-friendly, niche-agnostic
- Line art: Single-color or two-color, lowest print cost per unit on DTG
Generate 30x more designs. Automate the pipeline end-to-end.
MEGA handles image generation, file specs, mockups, listings, and SEO in a single pipeline. From niche idea to live product in under 7 minutes.
The 5 most common design mistakes that cause Printful and Printify rejections
Printful has published data showing that 1 in 8 designs submitted manually contains a file error that requires correction before printing. Some of those corrections are caught by their automated system and flagged back to the seller. Some are not caught until after a customer orders.
Here are the five most common causes:
1. Low resolution at print size
Submitting a 1000 by 1000 pixel image for a 12-inch front chest design gives you 83 DPI. Printful requires 150 DPI minimum. The mockup on Printful’s product builder will render it fine, because mockups downsample to screen resolution. The physical shirt will show pixelation on edges and gradients.
Fix: Always confirm your DPI at the actual print dimensions before submitting. In Photoshop: Image menu, Image Size, with “Resample” unchecked, check the resolution at your target print width.
2. JPEG files with white halos
JPEG does not support transparency. When you submit a JPEG design with a background that is supposed to be transparent, Printful fills it with white. On a black shirt, your design gets a white rectangle around it. This is not a technical error Printful will catch. It will print exactly as submitted.
Fix: Only submit PNG with verified transparent backgrounds. Test by opening in Photoshop and enabling the transparency layer visibility to confirm the checkerboard pattern shows where transparency should be.
3. RGB colors outside the printable gamut
Neon greens, electric blues, and highly saturated oranges in RGB often cannot be reproduced accurately in DTG ink. The gamut of DTG printing is smaller than the sRGB color space. Colors that look electric on screen will print duller.
Fix: Do not design with the most saturated RGB values. Pull back saturation by 10 to 15% on any colors you want accurate in print. Ask for a sample print before listing if color accuracy is critical.
4. Text in the design file
If your design includes text, that text needs to be rasterized or converted to outlines before submission. Unflattened text layers can cause rendering errors, and AI-generated text in design files will almost always be garbled.
Fix: Flatten all layers including text before export. For AI-generated designs, never include text in your prompt. Add text as a separate layer using your design tool, then flatten.
5. Thin lines below 1 pixel at print size
Detailed line art with lines thinner than 1 pixel at print resolution will not reproduce clearly in DTG printing. The ink spread on fabric will fill in fine lines and make them disappear or bleed together.
Fix: Maintain a minimum line weight of 2 pixels at 300 DPI for any design element you want visible on the final shirt. For intricate illustrations, test a small sample print at 4 by 4 inches before scaling to full size.
Building a t-shirt printing design system: catalog thinking vs one-off thinking
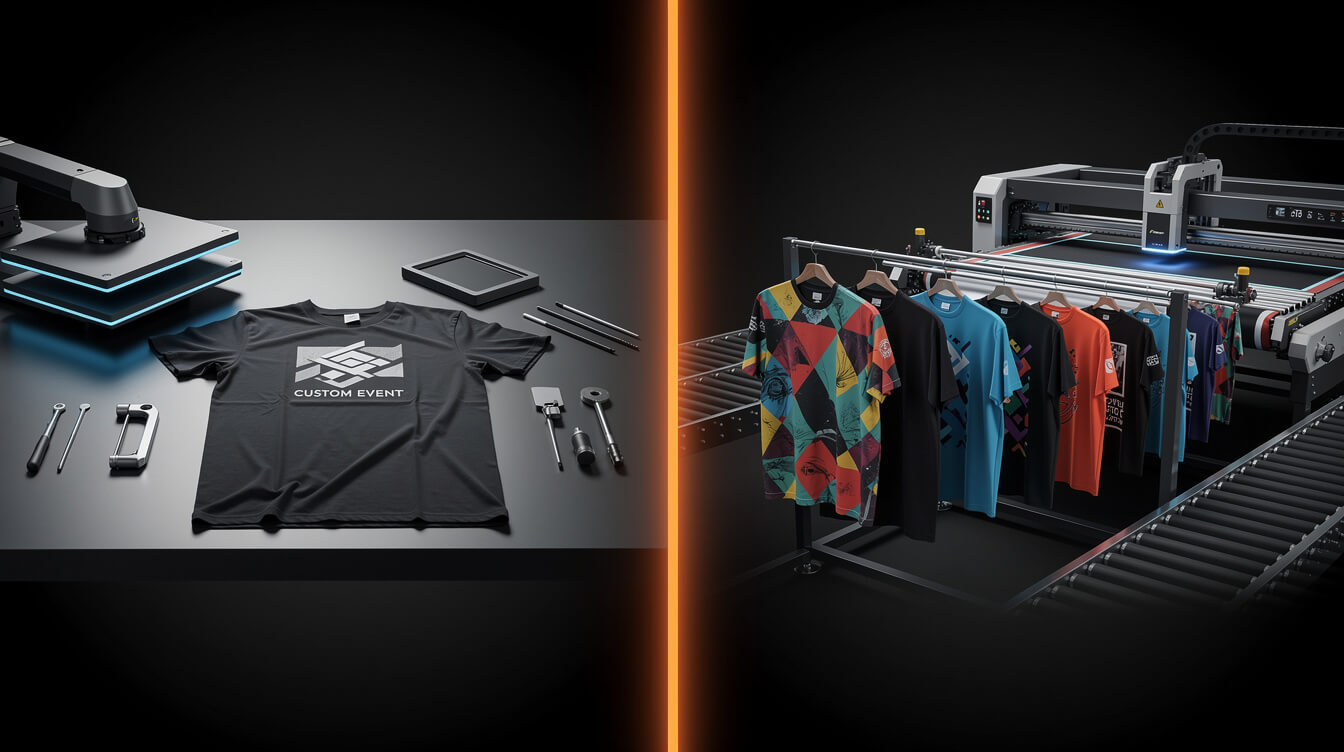
One-off thinking: design one shirt, submit it, see if it sells.
Catalog thinking: design 50 shirts within a niche framework, list all 50, let data tell you which 10 to double down on.
The economics are completely different. A seller using one-off thinking needs every design to succeed to justify the design cost. A seller using catalog thinking only needs 20% of designs to find an audience to build a profitable store.
The niche framework approach
Pick a niche. Research what buyers in that niche are looking for. Identify 5 to 10 sub-themes within the niche. Generate 5 to 10 design variations per sub-theme. That gives you 25 to 100 products from one focused research session.
For example, within the “mountain hiking” niche:
- Sub-theme 1: Specific mountain ranges (Rockies, Appalachians, Alps)
- Sub-theme 2: Hiking milestones (first summit, trail counts)
- Sub-theme 3: Vintage poster style trail art
- Sub-theme 4: Wildlife and nature minimalism
- Sub-theme 5: Campsite and campfire aesthetics
Each sub-theme gets 5 to 10 designs. You now have 25 to 50 products instead of 1, and you have covered enough variation to identify what your specific audience within that niche responds to.
Reusable design templates
Build reusable template structures: a badge template, a mountain silhouette template, a vintage oval template. Swap the interior elements and color palette, and you can produce 10 design variants from one template layout in a fraction of the time of starting from scratch each time.
This is where AI generation shines. Prompt for the same template structure with different subjects or color palettes, and you get consistent visual cohesion across your catalog without having to manually recreate the layout each time.
Naming and tagging your file library
A design library without organization is unusable at scale. Implement a naming convention from day one:
[niche]-[sub-theme]-[style]-[variant].png
Example: hiking-rockies-vintage-sunset-v2.png
Tag files by sub-theme, style, and which products they are approved for (T-shirts only, or also hoodies and mugs). When you have 500 files, you will thank yourself for this.
How MEGA automates the design-to-listing pipeline end-to-end
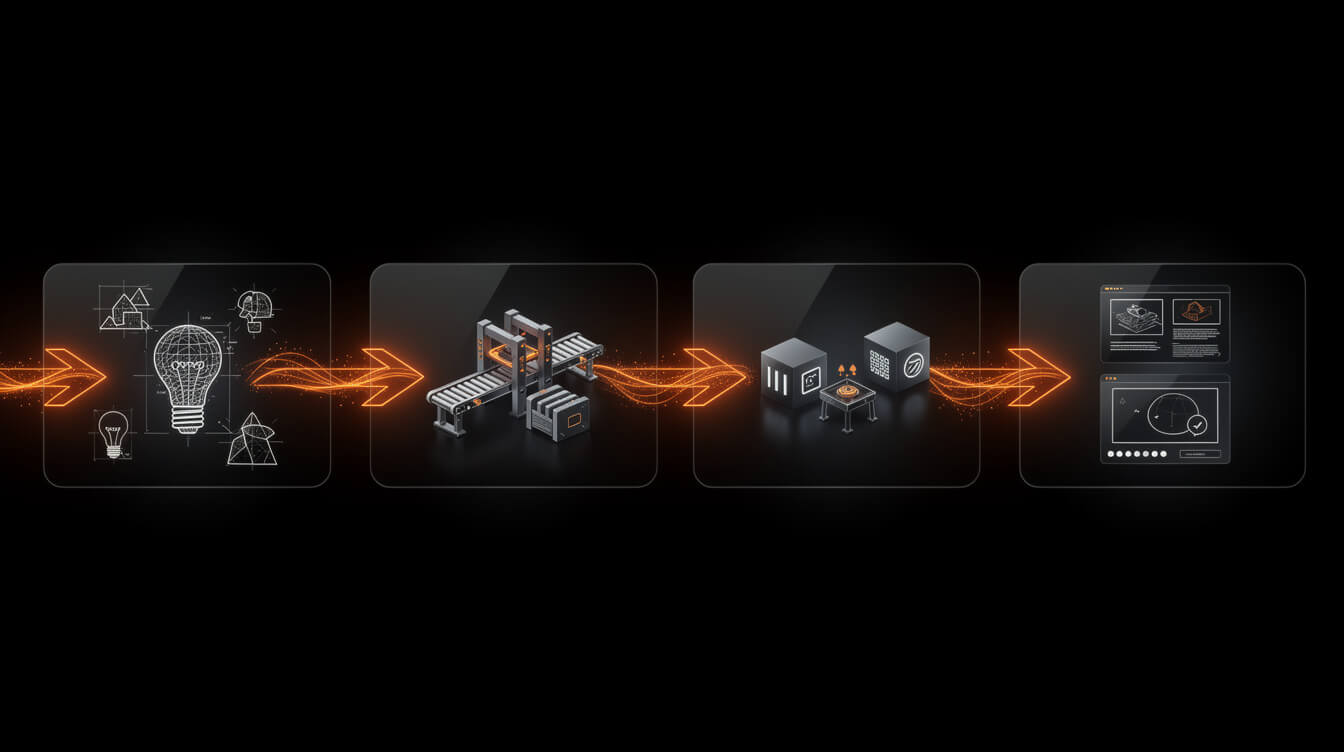
The workflow described in this guide, done manually, takes experienced POD sellers 2 to 4 hours per product. Research the niche, generate or commission the design, check file specs, upscale the image, compress it, upload to Printful or Printify, write the product title, write the SEO description, set pricing, create the mockup, publish the WooCommerce listing.
That is a 2 to 4 hour pipeline per product. At 1 product per day, you get 30 products per month. At 30 products per month, building a 300-product catalog takes nearly a year.
MEGA runs that same pipeline in under 7 minutes per product. From niche idea to live product listing, the full sequence is automated: AI image generation via Flux 2 Pro, Tinify compression, Cloudinary CDN distribution, Printful API integration, WooCommerce product creation, SEO title and description generation, and mockup rendering.
The sellers using manual workflows versus automated pipelines are not competing on the same timeline. If you are running a Shopify store and also paying the 1% Shopify platform override on top of that timeline, the economics get worse. We have covered that math in detail in our comparison of Shopify print-on-demand apps vs. the fee underneath them.
A catalog of 300 products on an owned WooCommerce store, built through an automated pipeline, is a different business than 30 products on Shopify built by hand. Both can work. But one of them scales.
Frequently asked questions about t-shirt printing design for POD
What resolution should t-shirt designs be for Printful?
Printful requires a minimum of 150 DPI at print size. Their recommended resolution is 300 DPI. For a standard 12-inch front chest design, that means your file should be at least 3600 by 3600 pixels.
Can I use Canva for POD t-shirt design?
Yes, with caveats. Canva exports PNG at 96 DPI by default, which is below Printful’s minimum. Download as PDF for print at maximum quality, then convert to PNG using a tool that preserves the higher DPI, or use Canva’s “Download as PNG with high resolution” option if your plan includes it. Always verify the DPI in Photoshop or GIMP before submitting to Printful or Printify.
What file format does Printify require for t-shirts?
Printify accepts PNG, JPEG, and PDF. For any design with a transparent background (most t-shirt designs), PNG is the only correct choice. JPEG does not support transparency and will add a white background to your design.
How many colors can I use in a DTG print design?
DTG (direct-to-garment) printing handles full-color designs without a per-color surcharge. Unlike screen printing, which adds cost for each additional color, DTG prints your full JPEG or PNG as a single pass. You can use as many colors as you want. The constraint is gamut accuracy for highly saturated colors, not color count.
Do I need to remove the background from my t-shirt design?
Yes, for any design where the shirt color is the background. Submit a PNG with a transparent background and the print provider will handle the placement on the shirt. If you want a specific background color as part of the design, include it in the design file itself rather than relying on the shirt color.
The design system is the competitive advantage
T-shirt printing design for POD is not a creative exercise. It is a production system. The sellers building catalogs of 500 to 2,000 products are not spending more time on individual designs. They are spending less time per design because they have built a repeatable system: consistent file specs, a prompt library for AI generation, a niche framework that generates design ideas systematically, and a pipeline that handles the technical steps automatically.
The file specs covered here are the table stakes. Every POD seller who wants to avoid Printful rejections needs to know them. The catalog thinking and AI generation approach is where the leverage is. And the pipeline automation is where the throughput difference between a part-time POD hobby and a full-time POD business comes from.
Build the system. Generate at scale. Let data tell you which designs earn a second run.
Implement AI. 30x your throughput. Get a 30-min call with the founder.
Drop your details and book a free 30-minute discovery call. Personalized advice on your POD stack, your margin, and where AI fits. No pitch, no fluff.